Man, this sure hit home. I’ve been down with a nasty cold and hadn’t planned on doing anything today. But after reading this, I worked up enough energy to throw some brats on the grill. My dear wife made some very tasty pasta salad, and we had a nice dinner out on the deck.
Gotta make the most out of the time you’ve got. Happy Memorial Day!
All I wanted out of Sunday was baby back ribs and a nap. That’s not asking for much, is it? I had a relatively uneventful day in front of me, and I sure wanted to keep it that way. I didn’t want to do a whole lot of prep work and I really didn’t even want to mess around with much actual cooking, but I did have a serious hankering for some ribs.
So to that end, I did almost nothing to prepare the ribs for the Big Green Egg – just removed the membrane on the bone side of the ribs and rubbed in a generous coating of Dizzy Pig’s Dizzy Dust into both sides of them about an hour before they went on the smoker.
I set up my Big Green Egg for an indirect cook at 225 to 250°F. I filled the firebox with lump charcoal and used an inverted plate setter to diffuse the heat and a drip pan with a little water in it to catch the fat.
I lit the charcoal just in the center, and once the temperature hit 250°F in the dome, I added a couple of chunks of smoking wood (guava, this time) and arranged the ribs bone side down on the grate.
Then I closed the lid, walked away, and settled in for a nap – it was lovely. When I woke up 45 minutes later, I stuck my head out and checked to make sure the dome temp was still at 250°F. Yep, perfect. I went back inside and proceeded to ignore the ribs for another 2 hours – I read the paper, had another cup of coffee, hung some curtain rods for my dear wife… typical Sunday afternoon.
When the ribs had been on for 3 hours total, I took a peek at them – looking good. I flipped them meat side down. I let them cook for another hour, and flipped them back meat side up.
After the ribs had been on 4 1/2 hours total, I started checking for doneness. Ribs are generally done when a full slab will almost fold in half and start to crack when you pick up one end with a pair of tongs. These weren’t quite there yet.
I gave them another 30 minutes and checked again. The meat had started to pull back from the end of the bones and a gentle tug on a couple of adjacent bones showed that they would come apart easily.
I brushed them with a thick coat of Sticky Pig Barbecue Sauce and let them cook for another 15 minutes. I sauced them lightly again, cooked them for another 15 minutes, then removed them from the smoker and let them sit 10 minutes before serving.
To be honest, these are not the best ribs I’ve ever made. But they were tasty, the nap was great, and it was nice, relaxed day. It’s hard to beat that combination.
I seasoned the t-bones up with a little olive oil, kosher salt, and fresh-ground black pepper, then set the Big Green Egg up for a direct cook at 700+°F. When everything was good and hot, I tossed the steaks on for 90 seconds of undisturbed searing. Then I rotated the steaks 90 degrees and gave them another 30 seconds on that side. I flipped the meat and repeated the process on the other side.
The folks who were over for dinner liked their steaks a little more medium than rare, so I flipped the steaks again and checked the internal temp. When it hit 135°F internal (about another 30 seconds), I pulled them off the grill and onto a warm plate and covered it with another plate, and let them rest while I grilled the shrimp.
The Shrimp
These are (pretty much) Mark Bittman’s Spicy Grilled Shrimp via AZRP on the EGGhead Forum. They’ve got a great flavor to them and make excellent appetizers as well. I made up the marinade in advance and poured it over the shrimp right before I put the steaks on.
1 pound raw shrimp, peeled and deveined
2 cloves garlic
1 teaspoon kosher salt
1 teaspoon paprika
1/2 teaspoon cayenne pepper
2 tablespoons lemon juice
2 tablespoons olive oil
I put the salt and garlic in a food processor and pulsed until the garlic was minced. I added the remaining ingredients, except the shrimp, and gave them a whirl until everything was well-combined.
I put the shrimp in a zip-top bag, covered them with the marinade, then squeezed the air out of the bag and sealed it. I put the bag in the fridge and let them marinate for about 10 minutes – don’t let them go for much more than this as the marinade will start to cook the shrimp.
I grilled them direct at 500°F or so for about 2 minutes a side – just until the shrimp started to curl up and turn pink.
Talk about my carnivorous habits – the only veggie on the plate was a lonely sweet potato, and it was just there to keep the pat of butter warm.
The name is courtesy of The Naked Whiz, and refers to going one step farther than spatchcocking (butterflying) the chicken by cutting the bird completely in half. Cutting the chicken like this shortens the cooking time and makes it easier to get 2 birds on the grate.
2 3-5 pound roasting chickens
1 cup apple cider vinegar
1/2 cup peanut oil
1/4 cup Worcestershire sauce
1 tablespoon Kosher salt
1 tablespoon sugar
3-4 cloves garlic
1 teaspoon onion powder
1 teaspoon black pepper
1/2 teaspoon celery salt
1 teaspoon dried basil
1 teaspoon dried parsley
1 teaspoon crushed red pepper flakes
Put the salt and garlic in a food processor and pulse until the garlic is minced. Add the remaining ingredients, except the chicken, and give them a whirl until they are well-combined. This makes just under 2 cups of marinade.
Clean and rinse the birds, then pat them dry. Place a bird in front of you, breast side down. Spatchcock the bird by cutting up through the backbone with either a pair of kitchen shears or a sharp chef’s knife. Spread the bird open like a book and flip it over. Cut down through the keel bone right between the breasts, cutting the bird completely in half. Repeat with the second bird.
Put the chicken in a freezer bag and cover with the marinade. Squeeze the air out of the bag and seal. Marinate in the refrigerator for at least 4 hours, overnight is best, 48 hours rocks.
Set your grill up for a indirect cook over medium-high (400°F) heat. On the Big Green Egg this means filling the firebox about half way up with lump and using a platesetter and drip pan to diffuse the heat.
Remove the chicken from the marinade and put on the grill skin side up. Close the lid and cook for 45 minutes. Check the chicken and continue to cook until the juices run clear and the meat is no longer pink in the center, or until you reach 170°F in the breast and 180°F in the thickest part of the thigh. These birds went 90 minutes total.
Remove from heat and let rest 10 minutes. Cut between the thighs and body to quarter the bird for serving.
I volunteered (at least that’s what they told me I did) to do pulled pork for a crowd of 120 at a graduation party. As the date approached, I had the following thoughts:
How much pig? Rub? Sauce?
How long will it take to cook?
How am I going to store and serve it?
Are you nuts?!!!
How Much Pig & Fixin’s?
Many thanks to Celtic Wolf and the rest of the gang at the Big Green Egg Forum for helping me figure out the quantities.
The first thing I had to figure out was how many pulled pork sandwiches we’d be serving. The host estimated 120 people (50/50 men and women), and she wanted to serve smaller slider-style buns. It’s an afternoon event, there’s plenty of other food, and this isn’t going to be anybody’s main meal of the day.
I figured we’d need 180 sandwiches, as about half the folks will probably take 2. At 3 ounces of meat per sandwich, that meant 33.75 pounds of finished product. Since you lose about 40% of the product in cooking, that meant I needed to start with roughly 58 pounds of raw pork butt. At about 8 pounds a piece, that meant 7 butts, but I did 8 just in case.
For rub, I figured 2 ounces of rub per butt, so I just went ahead and ordered a 2 pound bag of Dizzy Pig Dizzy Dust. We go though a ton of anyway, so I might as well get the bulk price.
For sauce, I gave Sticky Pig a try. At 1-2 tablespoons per sandwich, I ordered 2 quarts of their regular, 1 pint of mustard, and 1 pint of jalapeño. I also made up 1 quart of finishing sauce to use while pulling the pig.
The Cook
The conventional way to do pulled pork is low ‘n’ slow – 250°F for 16-20 hours until the meat hits 210°F internal and starts to fall apart. This is how I’ve usually done my butts and have gotten great results. However, due to scheduling and logistics, I knew in advance that I wasn’t going to have time to do the butts this way.
I experimented in reducing cooking times by cutting the butts in half. That worked well, but 2 halves take up more room than 1 butt. With 4 butts at a time going on the Big Green Egg, I just didn’t have the room.
Sources on the BGE Forum (who shall remain anonymous) suggested cooking the butts at much higher temp and then finishing them in foil – basically roasting and then braising to shorten the total cooking time. Based on their suggestions, I came up with a method that not only cut my cooking times by two-thirds, but also gave me more control over when things had to be done.
The BGE will hold 4 butts at a time, so I cooked 2 batches. Here’s one batch all seasoned up with rub.
I set up for a 5 hour indirect cook at 350°F. This meant filling the firebox with lump and using a plate setter and drip pan to diffuse the heat. When the cooker was up to temp, I added some chucks of pecan wood for smoke.
I put the 4 butts on, using an extended grid to give me some room and made sure to leave some space between them on the grate so they didn’t act like one big piece of meat.
I cooked them for about 4 hours at 350°F, until the butts had developed a nice dark bark on the outside and hit 160°F on the inside.
I removed the butts from the BGE and loaded them all up into a large roasting pan. I added 2 cups of apple juice, and sealed the pan with a double layer of heavy-duty aluminum foil.
The pan full of butts went into the oven set at 250°F. I baked them for a little over 2 hours, until their internal temperature hit 210°F. I removed the pan from the oven and let them cool for another hour.
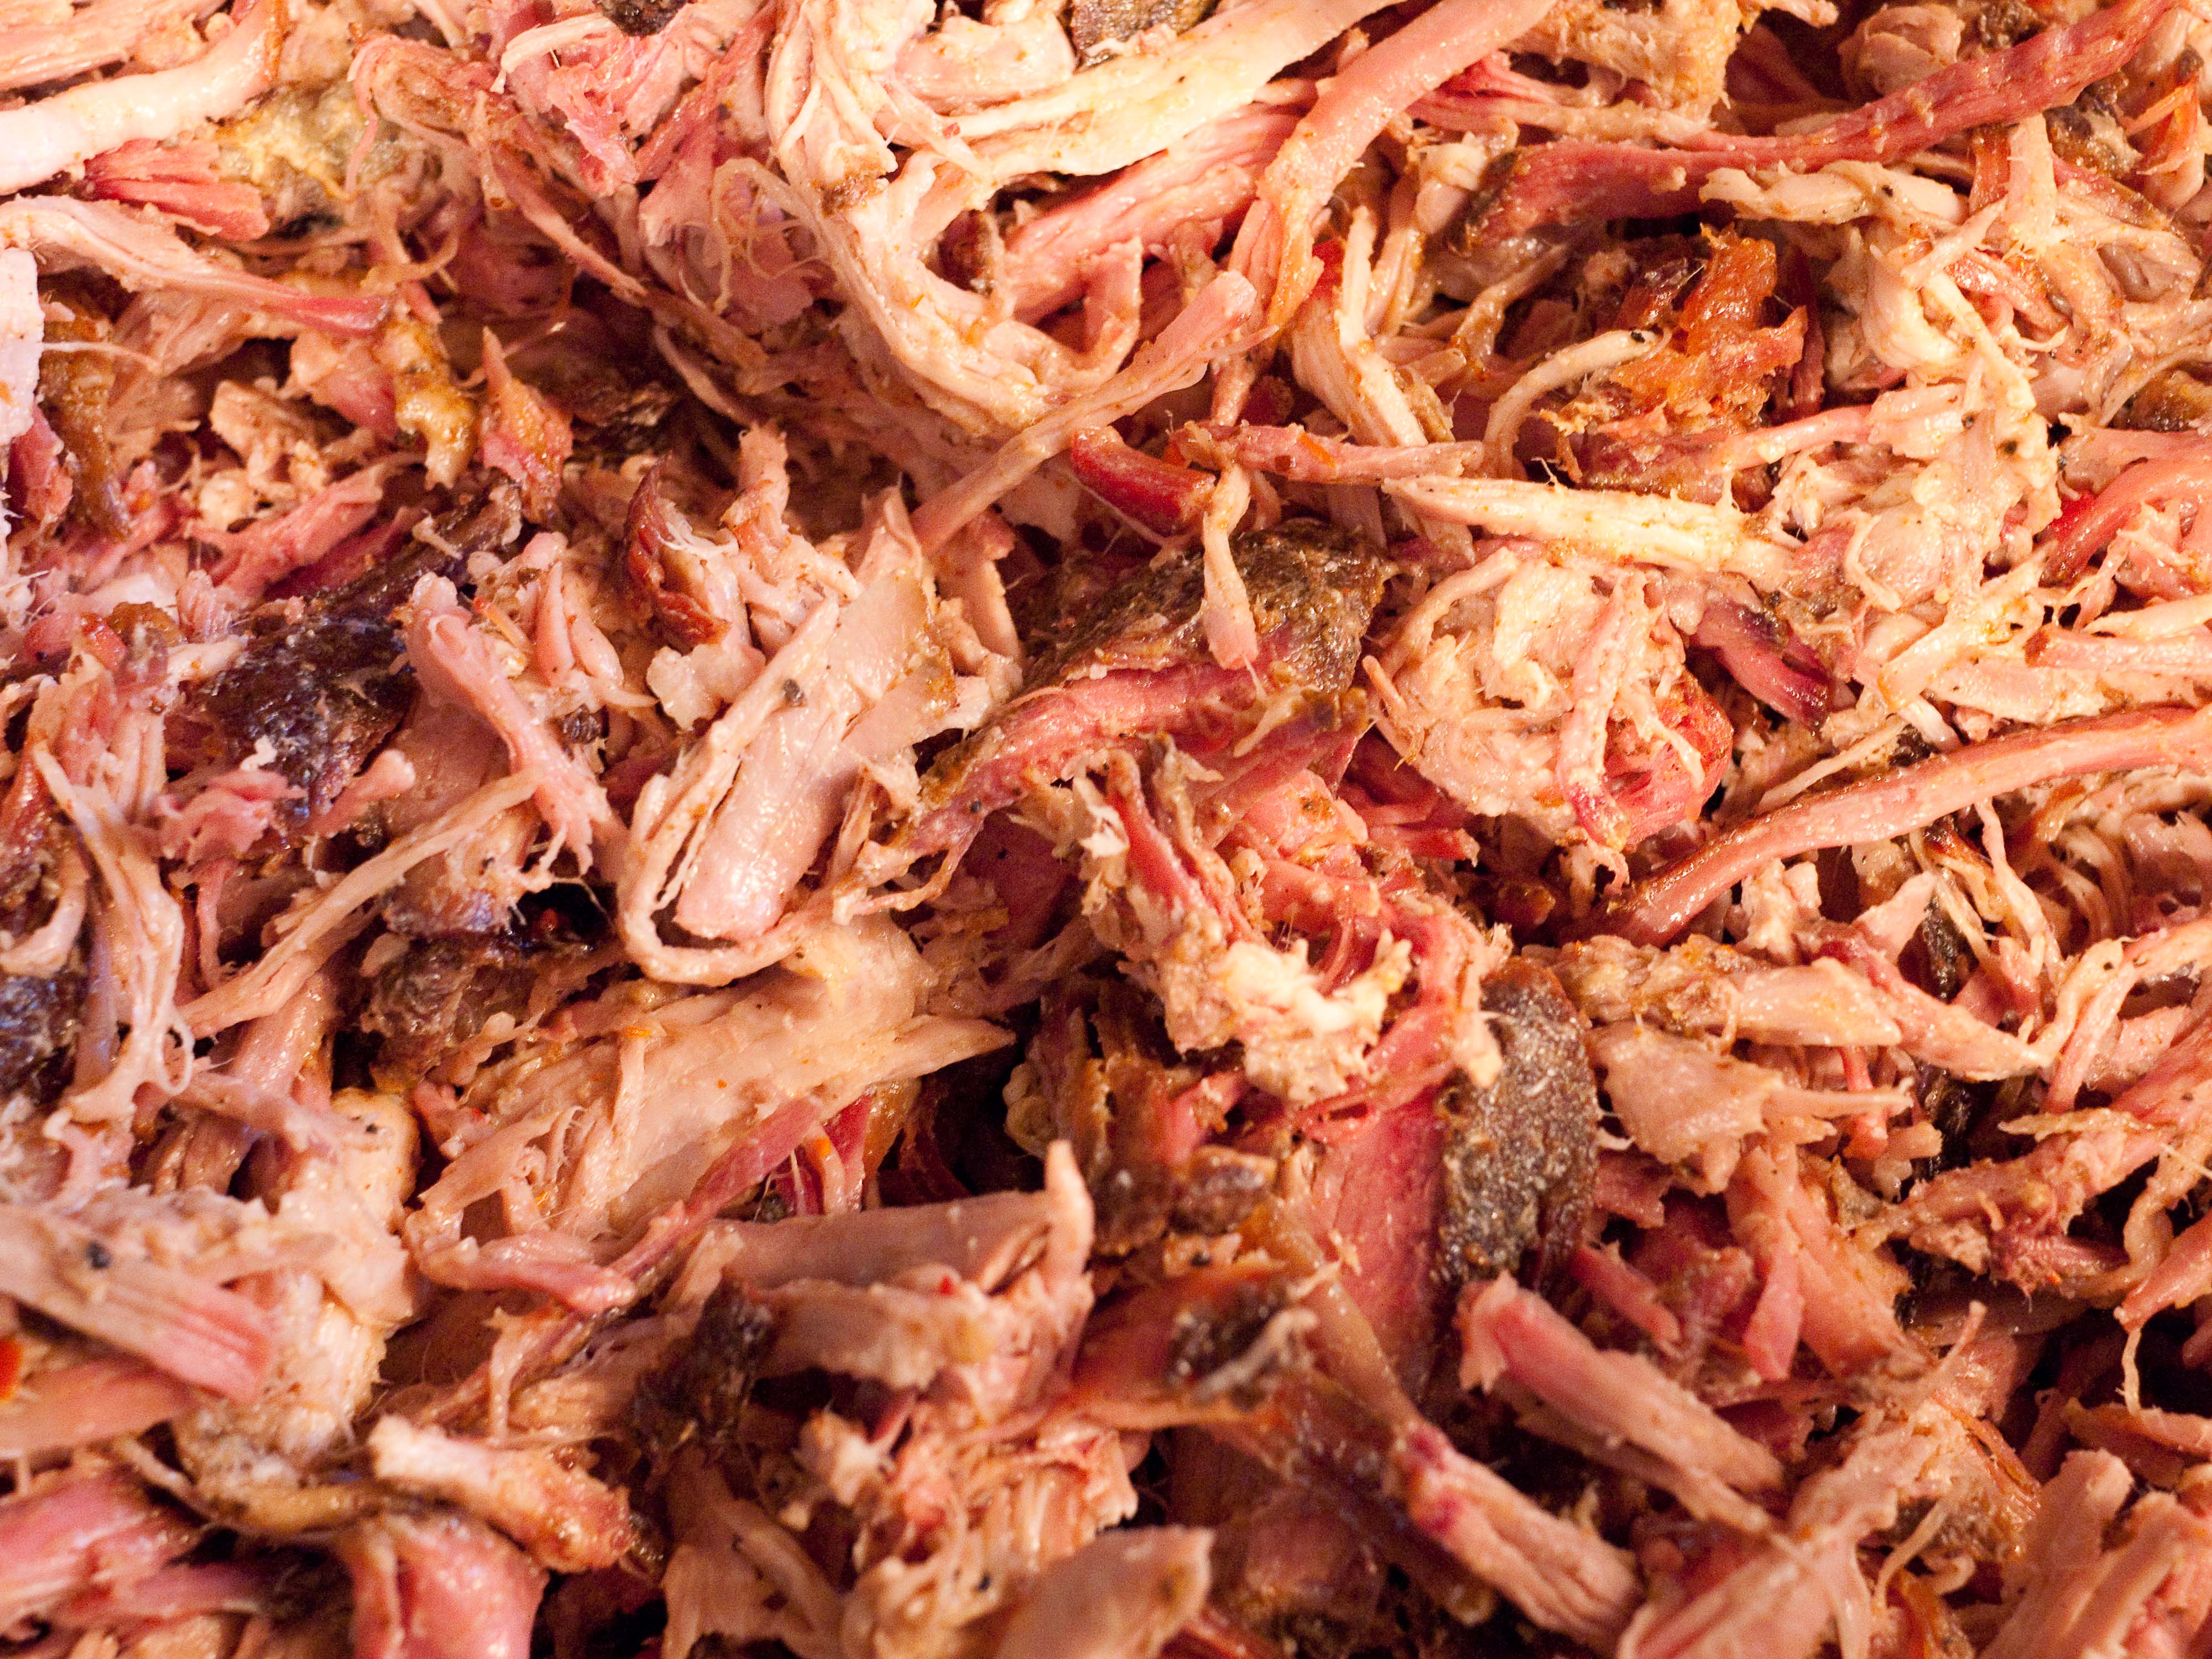
After they had cooled a bit, my dear wife helped me pull the pork using a pair of bear paws to remove all the remaining inedible bits and separate the meat into tasty morsels. I added a little finishing sauce mixed with pan drippings as we were working with the meat to help keep it moist.
We portioned the pulled pork off into 4 large zip-top bags and put them in the freezer. The morning of the big event, we loaded 3 of the 4 bags into a portable roaster set to 250°F and let it thaw and come to serving temp.
The Verdict
The party went off without a hitch and the pulled pork was a big hit. It was fun (and a little embarrassing) to have folks hunt me down to tell me how good it was. Obviously cooking the butts hot and fast and then braising them in the oven didn’t do much (if anything) to harm the taste.
We went through about two-thirds of the pulled pork. I think that was mostly due to this being an afternoon event, so most folks had already eaten lunch. The remainder went into our host’s freezer so she won’t have to worry about cooking for a while. If I had to do it again (and it looks like I will in 3 years when the younger brother graduates), I’d do the same amount just because it’s better to have too much than too little and you can always find a home for the leftovers.
The Sticky Pig sauces were VERY tasty – they used 1 quart of the regular, almost a 1 pint of jalapeño, and just about 1/4 of the mustard. I’ll be ordering more of this sauce soon.
Lessons Learned
Plan on feeding the crew – there were a dozen of us there early to set up the food and tent. Of course everybody had to sample the pork and have a sandwich or 2 before the festivities started.
Not everybody takes a bun –
Smaller is better – I would go with 2 roasters for serving next time as it’s hard to keep the meat evenly hot in one fully-loaded one. I did a lot of stirring to keep things from burning or drying out. Next time I’ll split the load and start one about 2 hours before the other so I don’t have so much meat sitting out for so long.
Pack extra finishing sauce – some of the meat started to dry out and I moistened it with a little diluted barbecue sauce. I’d bring more finishing sauce next time to do that job.
Spaghetti tongs – these were the best tools for letting guests serve themselves.
Was I Nuts?
Yes and no – it was a bit of work, but the payoff of seeing happy people digging into piles of pig was well worth it.
That being said, this is NOT the start of my catering career. I admire the pitmasters who do this for 500 people on a weekend, but I just couldn’t do that. It’d be like the days when I worked in photography and got so sick and tired of it that I didn’t do any personal work anymore. It’s a great hobby, but I sure don’t ever want it to become a job.
Sometimes it’s not about the hottest new ingredient or the coolest technique. Sometimes it’s just about putting dinner on the plate. That doesn’t mean it has to be boring, sub-par fare. These chicken breasts were a quick, easy, and tasty way to get us fed on a Sunday night without going to a lot of effort or compromising on the quality of the food.
4 boneless, skinless chicken breasts
Barbecue rub (I used Dizzy Pig’s Swamp Venom for this batch)
Barbecue sauce (used up the last of my Blues Hog Original)
Season the breasts all over with a generous dusting of rub. Store in the fridge while you set up your grill for a direct cook over medium (350°F) heat.
Grill the breasts 10 minutes on one side, flip and grill another 5 minutes on the second side. Brush with barbecue sauce and grill for 5 more minutes. Flip, brush, and grill until the the juices just start to run clear or the internal temperature of the chicken hits 160°F.
I served these with a baked potato and some steamed broccoli. Is it haute cuisine? No, but it’s real food that’s hot and ready to eat in about 30 minutes.
The car is packed – I’ve got just shy of 40 pounds of pulled pork in the cooler, 3 quarts of sauce, 2 roasters, and we’re headed off for the graduation party that I got talked into catering. Wish me luck. Will post the full cook when I get back.
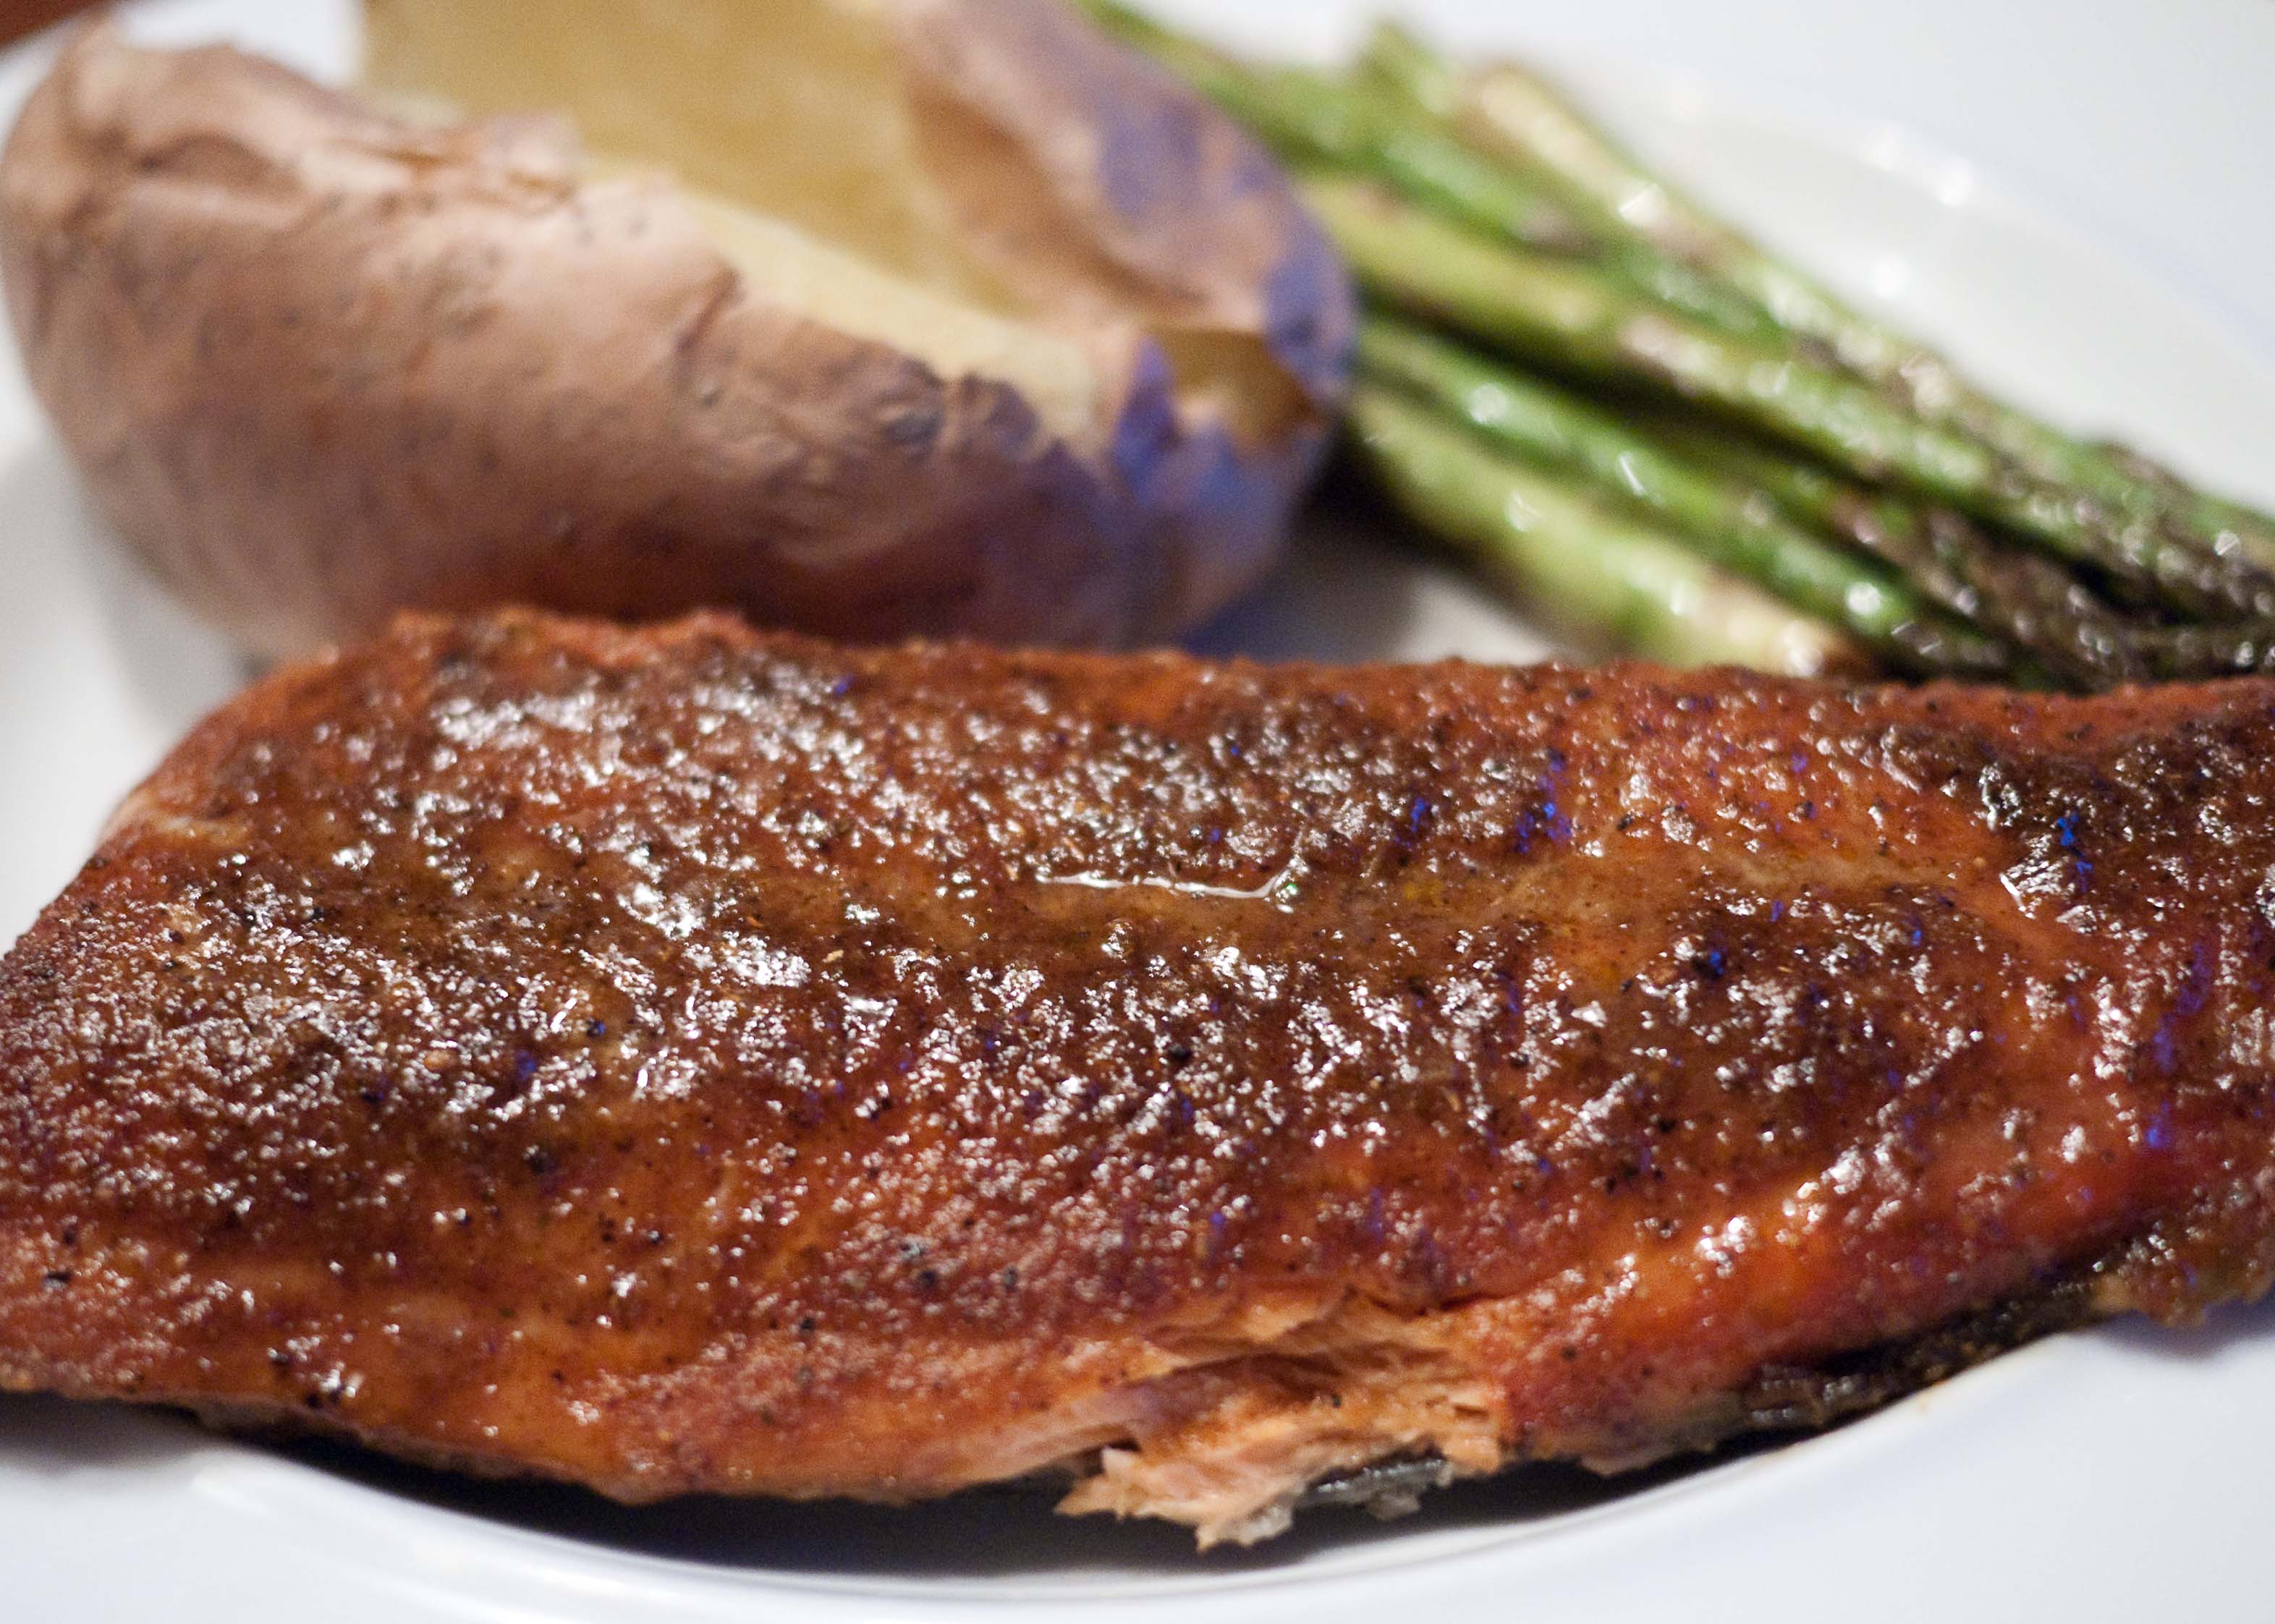
Planking is one of my favorite ways to cook salmon. The smoke from the plank adds to the rich, nutty flavor of the fish. The prosciutto adds a layer of salty sweet porkiness of while keeping the salmon from drying out.
Use a food-grade plank that’s been soaked in water for at least an hour. Cedar or alder are traditional, but maple is nice too. Set your grill up for direct cooking at medium-high heat (about 450°F).
Oil the skin side of the salmon and season both sides with a little kosher salt and a grind or two of black pepper. Brush the salmon with a tablespoon or so of pure maple syrup. Apply 3 or 4 pieces of prosciutto, covering the fillet in a single layer. Brush the prosciutto with more maple syrup.
Put the plank on the grill by itself for about 5 minutes, or until you see the first wisps of smoke coming from the board. Flip the plank over and put the salmon on skin side down on the hot side of the plank.
I try to use the planks more than once, but this one was overdue for replacement.
Close the lid on the grill and cook for 10-15 minutes. I like salmon when it’s a juicy medium rare, so take the fillet off when it starts to flake, but is still a little translucent red inside – about 130°F internal. Remember that the fish will continue to cook a little once it’s off the heat, so you want it to be slightly underdone when you take it off.
I served it hot off the grill with a side of broccoli and delicata squash.


