Barbecued Chicken Thighs

While it has been awfully freakin’ cold outside, and I feel myself called by the siren song of our new pans, I have not forsaken my BGE. During a brief break from the cold, I fired up these barbecued thighs.

As any grillmeister worth their kosher salt knows, barbecue is a style of cooking, not a sauce. To make these barbecued thighs, I went with a low ‘n’ slow cook to give them that rich, smoky flavor and bite-through skin.

8 chicken thighs, bone-in, skin-on
2-3 tablespoons of your favorite barbecue rub (I used Tasty Licks Original BBQ Rub)
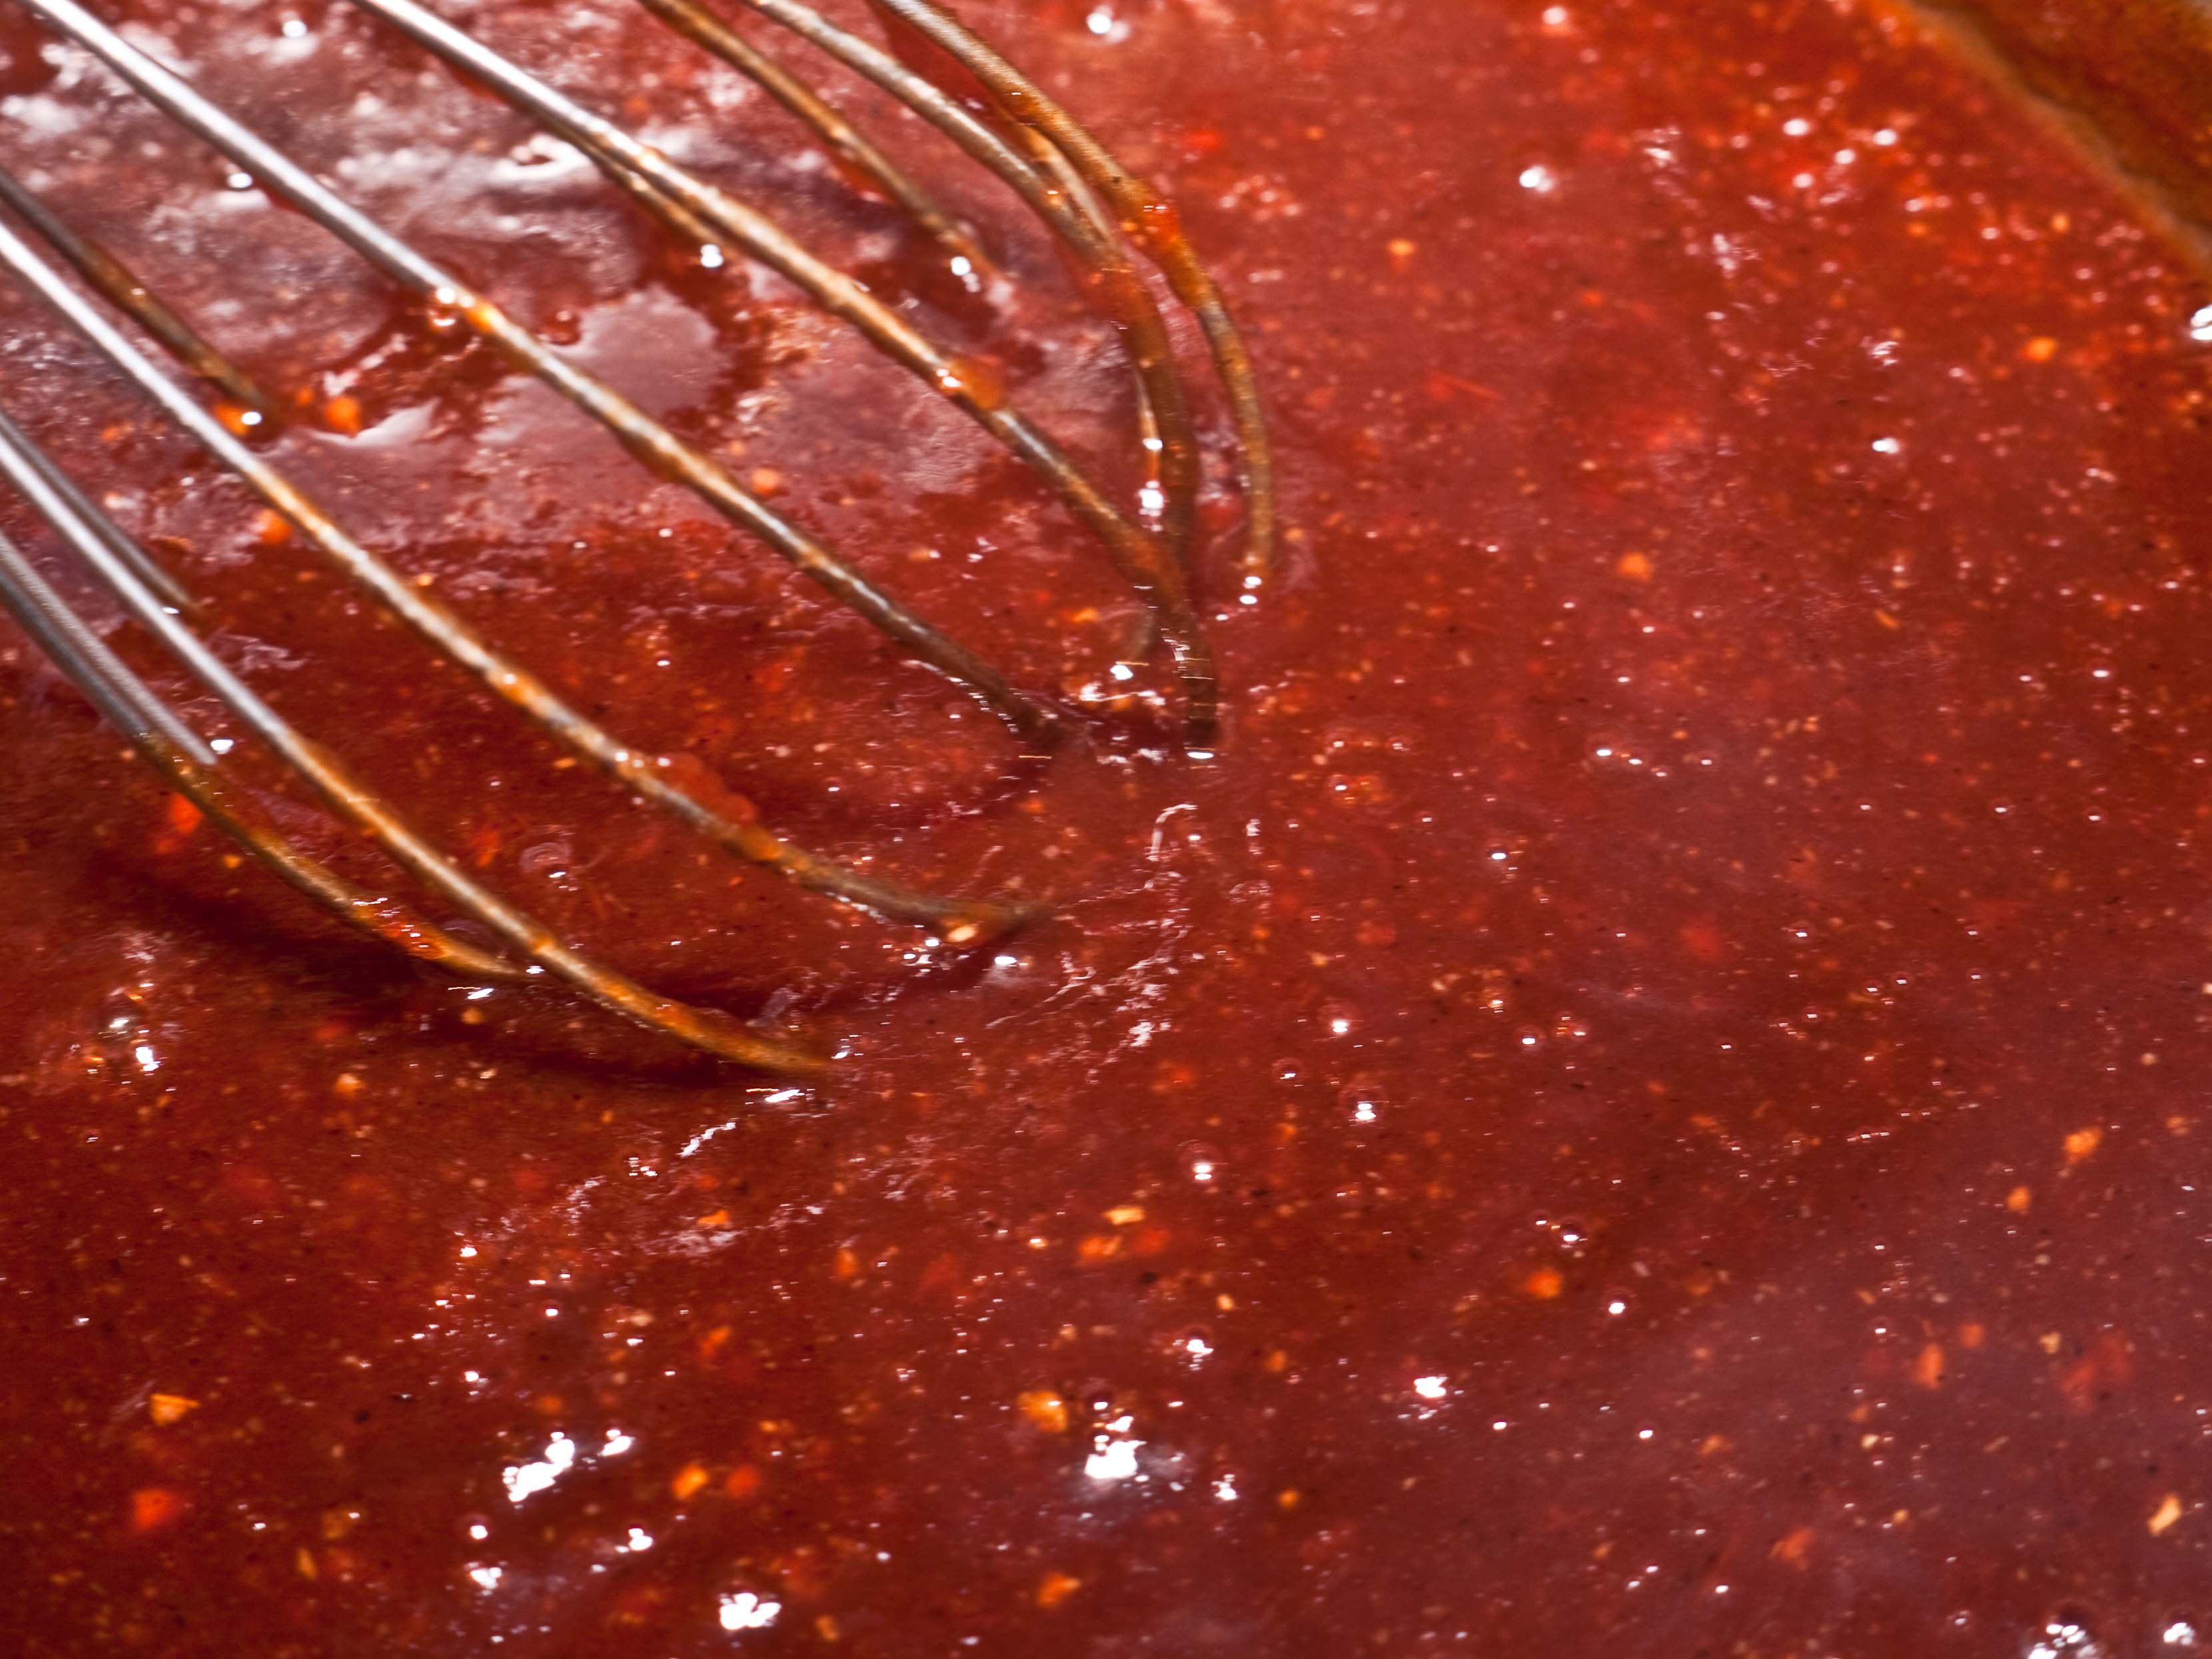
1/2 cup Sticky Hog barbecue sauce

At least 2 hours before cooking, dust the thighs with the rub, lay them out in a single layer on a sheet pan, and let them sit uncovered in the fridge. This step seasons the thighs and also helps to dry out the skin a bit to keep it crispy.

Set the grill up for a raised direct cook at 250°. On the BGE I didn’t use a heat diffuser or drip pan, but I did set my grate on a Woo 2 rig to give me another 8 inches of clearance above the firebox. So the thighs would smoke and not get too crispy, I filled my firebox about 1/2 of the way up and made sure I had a uniform layer of well-packed lump charcoal. I added a chunk of apple wood for smoke.

Put the thighs on the grill skin side down, close the lid, and let them cook for 30 minutes. Flip them and let them go another 30 minutes.

Check to make sure that there aren’t any hot spots and that none of the thighs are cooking too fast. Rearrange them on the grid if needed. Leave them on skin side up for another 30 minutes.

Check for doneness – when the juices run clear and the internal temperature in the largest thigh hits 180°F (after 2 hours total in this case), brush the thighs on both sides with the barbecue sauce. Let them cook 10 minutes more and brush them again. Let them cook  5 more minutes, brush one last time, remove them to a warm plate, and let sit 10 minutes before serving.

The Verdict: ★★★★☆
This wasn’t just grilled chicken with some sauce slapped on it. This was proper barbecue – smoky, sweet, spicy, and tangy. The thighs were very juicy, and while the skin wasn’t as crisp as I would have liked, it wasn’t rubbery either. Just a little longer cook once the sauce was on, or maybe a longer rest uncovered in the fridge, and they would have been perfect.

Ze Boeuf

“I’m making ze boeuf,” I announced Sunday afternoon, in my best Pepé Le Pew accent.

“Julia’s boeuf?!?” my dear wife asked excitedly.

“Oui!” I then marched off to the kitchen with a copy of Julia Child’s Mastering the Art of French Cooking under my arm to create my take on her famous boeuf bourguignon.

6 slices bacon, thick cut
1 tablespoon olive oil
3-4 lbs lean stewing beef (rump roast in this case), cut into 2-inch cubes
1 carrot, peeled and sliced
1 onion, peeled and sliced
2 teaspoon salt
1/2 teaspoon pepper, freshly ground
2 tablespoons flour (I used Pamela’s Gluten-Free Baking Mix)
3 cups red wine (I used a full-bodied Big House Red)
2 -3 cups beef stock (Pacific Natural)
1 tablespoon tomato paste
2 garlic cloves, mashed
1 teaspoon dried thyme
1 bay leaf
1 pound quartered fresh mushrooms, sautéed in butter
1 cup fresh peas, shelled
6-8 new potatoes, peeled & quartered

Pre-heat your oven to 450°F.

On the stove top, heat a 9 to 10 inch flame-proof casserole (I christened my new All Clad 8-quart wide stockpot) over medium heat. Add the bacon and fry until it is just crisp. Remove the bacon and reserve for later. Add the olive oil to the bacon fat and increase the heat to medium-high.

Dry off the pieces of beef (I dabbed them with a paper towel) and sauté them, a few at a time in the hot oil/bacon fat until they are nicely browned on all sides. As they are done, move them off to a side plate.

When all the boeuf is browned, add the onion and the carrot and sauté until softened. While the veggies are cooking, slice the bacon strips into lardons (thick matchsticks). Pour off any excess fat and return the lardons and the beef to the casserole with the carrots and onion. Season with salt and pepper and sprinkle with the flour. Toss to coast evenly.

Put the uncovered casserole in the oven for four minutes. Toss the contents of the casserole again and return to the hot oven for another 4 minutes.

Reduce the oven heat to 325°F and move the casserole to the stove top. Add the wine and enough stock so that the meat is just barely covered. Add the tomato paste, garlic, thyme, and bay leaf.

Bring the uncovered dish to a simmer on stove top. Cover and move to the oven. Simmer for 2 hours, checking to see if the meat is tender. Continue cooking until you can easily pierce the meat with a fork.

When the meat is tender, remove the casserole from the oven and empty its contents into a colander set over a saucepan. Reserve the sauce. Wash out the casserole and return the beef, bacon, and veggies to it.

Add the potatoes and sautéed mushrooms to the casserole.

Skim the fat off the sauce and simmer it for a minute or two, skimming off any additional fat which rises to the surface. It should be thick enough to lightly coat the back of a spoon. If not, bring to a boil and reduce to the desired consistency. You should end up with 2 1/2 to 3 cups of sauce.

Taste the sauce and adjust the seasonings with salt and pepper.

Pour the sauce over the meat and vegetables.

Cover the casserole and simmer over medium heat until the potatoes start to soften (about 10 minutes). Add the peas, cover, and cook for another 5 minutes.  Serve steaming in hearty bowls.

The Verdict: ★★★★★
I don’t even have words to describe how wonderful this was – rich, meaty, succulent, and complex. The veggies all held their shape and flavor. You could taste each individual ingredient and the many-layered sauce at the same time. Remarkable.

Dangerously Cold Oatmeal

HAZARDOUS WEATHER OUTLOOK
NATIONAL WEATHER SERVICE
DANGEROUSLY COLD WIND CHILLS OF 25 TO 40 BELOW ZERO WILL BE
COMMON OVER WEST CENTRAL MINNESOTA INTO THE EARLY AFTERNOON.

1 cup steel-cut oatmeal
2 tablespoons butter
3 1/2 cups water
pinch of salt

Bring water and salt to a boil. Melt butter in a saute pan over medium heat. Add the oatmeal and cook until toasted (careful not to burn it).

Remove pan from heat and slowly add boiling water. Return to stove on low and cook until it reaches the desired consistency (about 20 minutes for tender, but not gloppy), adding more water as needed.

Serve topped with cream, warm maple syrup, and toasted walnuts or pecans.

Against the Grain Gluten-Free Pizza Crusts

Most of the time my Celiacs isn’t a huge deal. While I don’t eat a lot of processed carbs anymore, when I do there are a lot of GF options out there both in grocery stores and restaurants. I am also lucky to have a very supportive wife and family who really work at making things I can eat and avoiding cross-contamination, so I have (mostly) been able to live around my allergy.

But there are some foods I miss so badly that being allergic to gluten just plain sucks.

Pizza is one of those foods.

Yes, there are GF pizza crusts out there – but most of them are tiny and the crust is either mealy or tough, and they’re always outrageously priced.  What I crave is a decent-sized crust that you can load up with sauce and goodies and it still hits that magic point where it is both crisp and chewy at the same time.

Finally, Against the Grain’s “no apologies” gluten free pizza crust to the rescue.

Whole Foods has just started to carry these in our area. They’re 12-inch, hand-crafted, gluten-free crusts with three cheeses baked into the dough.

I pre-baked this crust for 5 minutes at 350°F, then added sauce, pepperoni, sweet Italian sausage, tons of mozzarella cheese, and a scattering of green olives and mushrooms and baked it for 20 more minutes until it was brown and crispy.

The Verdict: ★★★★½
It tastes like pizza! The crust crisped up nicely, but didn’t crumble or fall apart. Even when the bottom got a little too dark, it was still just a bit chewy. It’s also got a great, rich taste. At $8, it’s not exactly cheap, but that’s the only thing I have against this crust.

Next time I would just let it thaw on the counter and skip pre-baking it, which ended up over-cooking the crust a bit. Other than that, it was as good as any delivery pizza I’ve ever had.

New Pans!

It’s a happy day in Dave’s world! My dear wife got me an early birthday present – new pans! After managing to cook through a couple of sets of Calphalon, we moved up to the All-Clad d5 stainless. Not only are they some damn pretty pans, they cook like a dream and ought to last a lifetime (am I a food geek or what?).

The first dish out of the chute was just a simple breakfast skillet casserole, but it was perfect with a crispy bottom and a bubbly top. I’ve only had the pans for a couple of days, but am already impressed with how evenly and efficiently the pans cook. Dishes that I would have cooked on medium-high just need medium heat now.

I’m now pouring through Julia Child’s Mastering the Art of French Cooking to find some more demanding dishes that’ll give the pans a real workout.

Thanks, honey!

Siberian Ribs

When I first decided to cook ribs for the weekend, it was a balmy 19°F and I figured it wouldn’t be a big deal. By Saturday an arctic airmass had dropped in. When I took the ribs off the Egg for dinner it was 2°F and I was wearing my barbecue gloves more to protect against freezing than flames.

But I was dying to try out my new Sticky Hog barbecue sauce,  so I turned the other frostbitten cheek to my wife’s concern, bundled up, and treated it as one of those “character building” experiences.

I set up my Big Green Egg for a direct cook at 225 to 250°F. I didn’t use a heat diffuser or drip pan, but I did set my grate on a Woo 2 to give me another 8 inches of clearance above the firebox. So the ribs wouldn’t get too crispy, filled my firebox about 3/4 of the way up and made sure I had a uniform layer of well- packed lump charcoal.

While the Egg was heating up, I seasoned the ribs with a generous coating of Dizzy Pig’s Dizzy Dust into both sides.

Once the fire was well-established across the entire firebox – giving me a low, even heat – I added a couple of chunks of smoking wood (guava and apple this time) and adjusted the vents to bring the temperature at the grate down to 225°F.

I arranged the ribs bone side down on the grate, closed the lid, and let them smoke undisturbed for an hour. I flipped them meat side down. I let them cook for another hour. I flipped them again so they were meat side up and let them cook until they had been on 4-1/2 hours total.

I started checking for doneness. Doneness with ribs is determined more by feel than it is by time or temp. A slab of ribs that are done will “break” or almost fold in half and start to crack when you pick up one end with a pair of tongs. The meat should also have pulled back from the bone at least half an inch from the end of the bones and tugging on a bone should show that it’s ready to come apart.

One of the racks was done at 4 1/2 hours, but the other two where lagging behind, so I slid the larger racks together, stacked the little one on top to protect it from the heat, and let them cook for another 30 minutes.

All of the racks where done at about 5 hours. I flipped them bone side up and brushed them with Sticky Hog barbecue sauce and let them cook for another 15 minutes. I flipped them meat side up sauced them again and let them cook for another 15 minutes. I gave them one last light coat of sauce, removed them from the smoker, and let them sit 10 minutes before serving.

The Verdict: ★★★★★
My dear wife proclaimed these to be the best ribs I’ve ever made. I thought they were just a touch dry, but who am I to argue with her ;). Doing them raised over direct heat makes them more crisp than tender. They didn’t fall off the bone, but they did surrender gracefully to the bite.

The sauce was pretty remarkable on the meat as well. It stuck (froze?) right to the racks and tightened up into a nice glaze. The tangy sweetness really complimented the meat. This is definitely a keeper sauce.

Orange Cashew Tart

This was our New Year’s Eve dessert – kind of a lighter, more complex take on a pecan pie. Adapted from a recipe by AP Food editor J.M. Hirsch to be gluten-free.

Crust
1 1/4 cups gluten-free graham cracker crumbs
5 tablespoons butter, melted
1/4 cup sugar
1 teaspoon vanilla extract
pinch of salt

Filling
2/3 cup honey
7 tablespoons butter
5 tablespoons sugar
3/4 teaspoon salt
7 tablespoons heavy cream
2 eggs
Zest of 1/2 orange (about 1 tablespoon)
1 1/2 cup lightly toasted cashew nuts

Heat the oven to 350°F. Coat a 9-inch tart or spring form pan with cooking spray. Prepare the crust by combining the graham cracker crumbs, butter, sugar, vanilla, and salt in a food processor and pulsing until the butter is worked into the graham cracker crumbs and the mixture resembles wet sand. Transfer to the prepared pan.

Use the bottom of a glass to press the crumb mixture into the pan and spread and even layer across the bottom and up the about an inch. Set aside.

Spread the cashews in a even layer on a baking pan. Bake for 10-12 minutes at 350°F until fragrant and lightly toasted. Remove from oven and let cool.

In a medium saucepan over medium-high heat, combine the honey, butter, sugar, and salt. Bring to a boil, stirring constantly until the sugar is dissolved. Remove the pan from heat and set aside to cool for five minutes.

In a medium bowl, whisk together the cream, eggs, and orange zest.  Whisk in the warm honey mixture. Stir in the cashews and then transfer the mixture to the tart pan.

Bake for 35-40 minutes, or until the filling has set and turned golden brown. Let cool before serving.

The Verdict: ★★★★½
Incredible – very rich and sweet. It went great with the champagne. My only issue is that it may have been a little too sweet. Maybe next time I back off the honey a touch and add just a tiny amount of rosemary.

Sticky Hog Barbecue Sauce

I’ve been on a quest for a while for a really good barbecue sauce recipe. I’m partial to Kansas City-style sauces. Original Blues Hog Barbecue Sauce and Sticky Pig Barbecue Sauce are two of my favorite commercial sauces. Both feature a great sweet and spicy taste and a thick consistency that really sticks to the meat. I’m not into “clone” recipes, so when I created this one I wanted a fairly simple, gluten-free sauce that was similar to these two, but with its own joys and nuances.

1 cup brown sugar
1/2 cup cider vinegar
1 (6-ounce) can tomato paste
1/4 cup gluten-free Worcestershire sauce
1 tablespoon pomegranate molasses
2 teaspoons ground black pepper
1 teaspoon kosher salt
1 teaspoon paprika
1 teaspoon balsamic vinegar
1 teaspoon lemon zest
1/2 teaspoon dried sage
1/2 teaspoon cayenne pepper
1/2 teaspoon crushed red pepper
1/2 teaspoon granulated garlic
1/2 teaspoon granulated onion
1/4 teaspoon ground nutmeg

Combine all ingredients in a medium sauce pan. Stir to combine and bring to a simmer over medium heat. Cook until all the sugar has dissolved and the sauce starts to thicken a little bit (about five minutes).

Sticky Pig on the left. Sticky Hog on the right.

Bottle and store in the fridge.

The Verdict: ★★★★★
I called my dear wife over to help me taste test this sauce and knew I had a winner when (after a few little adjustments) she was eating it by the spoonful. The pomegranate molasses adds a great sweet/tart flavor and the teaspoon of balsamic vinegar is just enough to smooth the vinegar’s tang and round everything out.

The real test, though, will be this weekend when I try the sauce out on some racks of baby backs. I’ll let you know how that turns out.

Shrimp Jambalaya

Tired of holiday leftovers yet? I sure am, and this dish was a quick and spicy cure for the post-holiday blues.

1 pound raw shrimp (36-40 count) peeled and deveined
1 medium onion, chopped
2 ribs celery, chopped
1 bell pepper, chopped
3 cloves garlic, minced
1 (14.5-ounce) can diced tomatoes
1 (4-ounce) can tomato sauce
1-2 tablespoons cajun seasoning
1 tablespoon bacon fat
Salt and pepper

In a large chef’s pan, melt the bacon fat over medium heat. Add the chopped onion, celery, pepper, and garlic and sweat until soft (about 5 minutes). Add the diced tomatoes and tomato sauce. Reduce the heat and simmer for 10 minutes until the veggies are tender.

Add the cajun seasoning. Taste and adjust seasoning.

Add the shrimp and cook just until they turn pink and start to curl.

The Verdict: ★★★★☆
I served this over some brown rice and it was great – spicy with plenty of veggies and shrimp. This dish is better if you take the time to make a roux and add some andouille sausage, but I’ll give it 4 stars for being a quick way to get something on our weeknight table that didn’t have a spec of leftover ham or turkey in  it.

%d bloggers like this: