My dear wife just came back from her brother’s with two feed sacks full of golden corn goodness. No recipe needed – I just tossed it right on the grill with some brats to make one of my favorite summer meals.
This was the first chance I’ve had to try new Udi’s Gluten-Free Buns and they were outstanding. GF baked goods tend to be crumbly, and almost always end up falling apart after a few bites. The Udi’s buns not only tasted great, but held together to the end even after being toasted for a bit on the grill.
I saw this wonderful Lemon Garlic Chicken with Goat Cheese recipe over at She Cooks He Cleans and I knew I had to give it a try. I’m not generally a fan of “fusion” cooking – no sushi tacos here – but this blending of a classic chicken dish with some Moroccan cooking techniques really piqued my interest.
After a recent trip to our local Greek market, I had some excellent domestic feta and green olives stuffed with garlic in the fridge. I wanted to incorporate them into this dish and push it a just little further east along the Mediterranean.
You could certainly make this dish in a Dutch oven, but I’ve got this rockin’ red Emile Henry tagine, so of course I used that.
Here’s my adaptation:
12 boneless, skinless chicken thighs
1/4 cup olive oil
Juice of 1 lemon (about 3 tablespoons)
3 tablespoon fresh herbs, chopped fine (I used thyme, oregano, and rosemary. Some mint or cilantro would work well too.)
2 teaspoons kosher or sea salt
1 teaspoon ground cumin
1 teaspoon turmeric
1 teaspoon Hungarian paprika
6 ounces feta, crumbled, plus more for serving
1 lemon, cut into 8 slices lengthwise
1 large yellow onion, sliced
1 (14.5-ounce) can garbanzo beans, drained
1/2 pound green olives stuffed with garlic (or 1/2 pound green olives and 6 cloves of garlic)
1/4 cup dried apricots
1/4 cup dried cherries
1/2 cup cherry tomatoes
Preheat your oven to 350°F.
Over medium heat on stove top, heat olive oil in the tagine (or a Dutch oven). Add the onion and cook until it has softened and started to brown a bit (about 5 minutes).
Add the cumin, turmeric, paprika, and salt. Stir and cook until fragrant (about 2 minutes). Add lemon juice and stir to deglaze the pan. Arrange the lemon wedges in the pan. Cover with the garbanzo beans, chicken thighs, herbs, olives, fruit, and tomatoes. Top with feta.
Put the cover on the tagine and move to the oven. Cook for 60 minutes. Remove the lid and check for doneness. The tagine braises the food, so the pan juices should be bubbling and the meat should be very tender. This batch wasn’t quite done at an hour, so I rearranged the thighs so they were covered in the juices, put the lid back on, and let it cook for another 30 minutes.
When done, carefully remove the tagine from the oven.
Tagine safety note: Take the lid off the tangine before removing it, as steam can spit out from under the lid (palm blister). Put the lid on a heat-proof surface and cover with a pot holder to remind you that it is still very hot (finger blister).
Serve straight from the pan with more feta to crumble over top.
The Verdict:
Amazing mix of flavors – rich chicken bathed in creamy golden juices set off by the salty olives and tangy lemon. I continue to be amazed at how the tagine concentrates flavors.
So what’s with the 3.5 stars? I over-crowded the tagine with too many chicken thighs, so the dish steamed more than braised and I didn’t get the browning I wanted. Eight thighs next time. Also, I really don’t think the fruit brought anything to the party. It distracted from the nice mix of traditional herbs and Moroccan spices. I might add a little more heat to the dish with some black pepper and/or Aleppo pepper.
Pulled Pork Shortcut (April 16, 2010) – a year ago I was trying to figure out exactly how I was going to get 8 pork butts cooked for an upcoming graduation party. This first attempt wasn’t bad, but I eventually went with a hotter & faster cooking method that let me get all the cooking done in one weekend.
Gluten-Free Egg Rolls (April 12, 2009) – two years ago my dear wife helped me make up these treats. They were tasty, but a bit putzy and didn’t freeze well. I’d like to try them again, but fry them this time and then freeze off the extras.
Bacon – Buckboard and Canadian-style (April 15, 2008) – three years ago I took my first shot at curing my own bacon. It was such a hit that nowadays I regularly make 15 pound batches and freeze it off for later.
I have been in love with this recipe ever since I spotted it over at Noble Pig. I would really like a decent Reuben sandwich, but with the whole Celiacs thing I’ve yet to find a gluten-free bread that really holds up to grilling. That’s the joy of this dip – it’s everything I love about a good Reuben, just in a dip form.
1/2 pound corned beef, diced
1 (8-ounce)package cream cheese, softened
1 cup shredded Swiss cheese
1 1/4 cup sauerkraut, drained well.
1/2 cup sour cream
1 tablespoon ketchup
1 tablespoon Dijon mustard
1/4 teaspoon caraway seed
1 Against the Grain Gluten-Free baguette, sliced into rounds and toasted
Pre-heat oven to 350°F.
Combine the corned beef, cream cheese, 1 cup of the sauerkraut, sour cream, ketchup, and mustard in a medium bowl. Spoon 1/2 the mixture into a 1-quart baking dish. Top with half of the Swiss cheese. Spoon in the rest of the mixture, and top with the rest of the Swiss cheese, the remaining 1/4 cup of sauerkraut, and the caraway seeds.
Bake for 35 to 45 minutes, until brown and bubbly.
The Verdict:
Boy, am I glad the nephews didn’t care for my corned beef ;). The leftovers made this a wonderfully rich and ever so naughty dip. Plan on sharing this one as the two of us couldn’t eat more than a couple of rounds worth before being stuffed. The next time I make this it’ll be for a holiday party where I can share the love.
I love enchiladas, but never seem to have the time or (truth be told) patience to make them. While this casserole version isn’t authentic, it is a great bit of gluten-free comfort food. Braising the thighs in the slow cooker makes them incredibly tender and tasty while reducing the hands-on time. This is adapted from a Kill the Gluten recipe.
1 (14.5-ounce) can of gluten-free cream of chicken soup (Health Valley)
3-4 teaspoons of gluten free flour (Pamela’s Baking mix)
8 ounces sour cream
1 medium onion, diced
2 cloves garlic, minced
1 (16-ounce) jar salsa verde (Trader Joe’s)
1 (4-ounce) can green chiles
1 jalapeño pepper, diced
4 boneless, skinless chicken thighs
2 cups cheddar cheese, grated
8 corn tortillas
1 teaspoon kosher salt
1 teaspoon chili powder
1 teaspoon garlic powder
1 teaspoon ground cumin
1/2 cup water
Put the chicken thighs in the crock pot with the salt, chili powder, garlic powder, cumin, and water and simmer on low until they are falling apart done (about 4 hours). You could even do this the day ahead if you wanted.
Pre-heat your oven to 350F.
In a small saucepan, bring the soup to a boil of medium-high heat. Gradually add the flour and whisk until desired thickness (it will thicken more after cooling). Remove from heat and let cool.
In a large bowl, combine soup, sour cream, salsa, green chiles, jalapeño, garlic, and onion. Stir to combine.
Spread a small amount of the sauce in a 9×13 baking pan. Layer on half of the tortillas, half the chicken, a little more sauce, and half the cheese. Then layer on the remaining tortillas, sauce, chicken, and cheese.
Bake for 30-45 minutes, or until the dish is bubbly and cheese has started to brown. Let rest 10 minutes before serving.
The Verdict:
When the weather calls for tasty, rich, and filling comfort food, this casserole fits the bill. The chicken was very tender and the chilies gave it just the right amount of warm, green heat.
There is a line where rich and filling becomes thick and gloppy. This dish (thankfully) sits just on the right side of said line, but it could use a little help. Next time I might try crisping the tortillas up a bit first and adding some more veggies like bell peppers or green onions.
We usually try to get away to someplace warm every year for my birthday. Mostly because the middle of February is a great time to try and dodge cabin fever, but also because I have this idea that if I’m out of the country on my birthday it doesn’t really count. But this year we decided just to lay low.
I thought that meant a nice, quiet weekend lounging around the house, but my dear wife surprised me with a last-minute getaway in a cozy cabin on Lake Superior. She’s the BEST!
No Egging, but we did pack the fixins for my favorite breakfast in the whole wide world – biscuits and gravy.
Brown the sausage in a large skillet over medium-high heat. Do not drain. Add the flour and cook over low heat for 5 minutes until it forms a roux and begins to brown.
Remove pan from heat and stir in the milk a little at a time. Scape the bottom to get up any brown bits. Return to medium-high heat and stir occasionally until gravy comes to a simmer and starts to thicken, about 10 minutes. Add the hot sauce, salt, and black pepper and stir to combine. Remove from heat and ladle over warm biscuits.
We ended up getting caught on the wrong side of the blizzard that swept through on Presidents’ Day and had to stay over, snuggled in front of the fire, for another day. Darn it ;)!
Most of the time my Celiacs isn’t a huge deal. While I don’t eat a lot of processed carbs anymore, when I do there are a lot of GF options out there both in grocery stores and restaurants. I am also lucky to have a very supportive wife and family who really work at making things I can eat and avoiding cross-contamination, so I have (mostly) been able to live around my allergy.
But there are some foods I miss so badly that being allergic to gluten just plain sucks.
Pizza is one of those foods.
Yes, there are GF pizza crusts out there – but most of them are tiny and the crust is either mealy or tough, and they’re always outrageously priced. What I crave is a decent-sized crust that you can load up with sauce and goodies and it still hits that magic point where it is both crisp and chewy at the same time.
Whole Foods has just started to carry these in our area. They’re 12-inch, hand-crafted, gluten-free crusts with three cheeses baked into the dough.
I pre-baked this crust for 5 minutes at 350°F, then added sauce, pepperoni, sweet Italian sausage, tons of mozzarella cheese, and a scattering of green olives and mushrooms and baked it for 20 more minutes until it was brown and crispy.
The Verdict: It tastes like pizza! The crust crisped up nicely, but didn’t crumble or fall apart. Even when the bottom got a little too dark, it was still just a bit chewy. It’s also got a great, rich taste. At $8, it’s not exactly cheap, but that’s the only thing I have against this crust.
Next time I would just let it thaw on the counter and skip pre-baking it, which ended up over-cooking the crust a bit. Other than that, it was as good as any delivery pizza I’ve ever had.
This was our New Year’s Eve dessert – kind of a lighter, more complex take on a pecan pie. Adapted from a recipe by AP Food editor J.M. Hirsch to be gluten-free.
Crust
1 1/4 cups gluten-free graham cracker crumbs
5 tablespoons butter, melted
1/4 cup sugar
1 teaspoon vanilla extract
pinch of salt
Filling
2/3 cup honey
7 tablespoons butter
5 tablespoons sugar
3/4 teaspoon salt
7 tablespoons heavy cream
2 eggs
Zest of 1/2 orange (about 1 tablespoon)
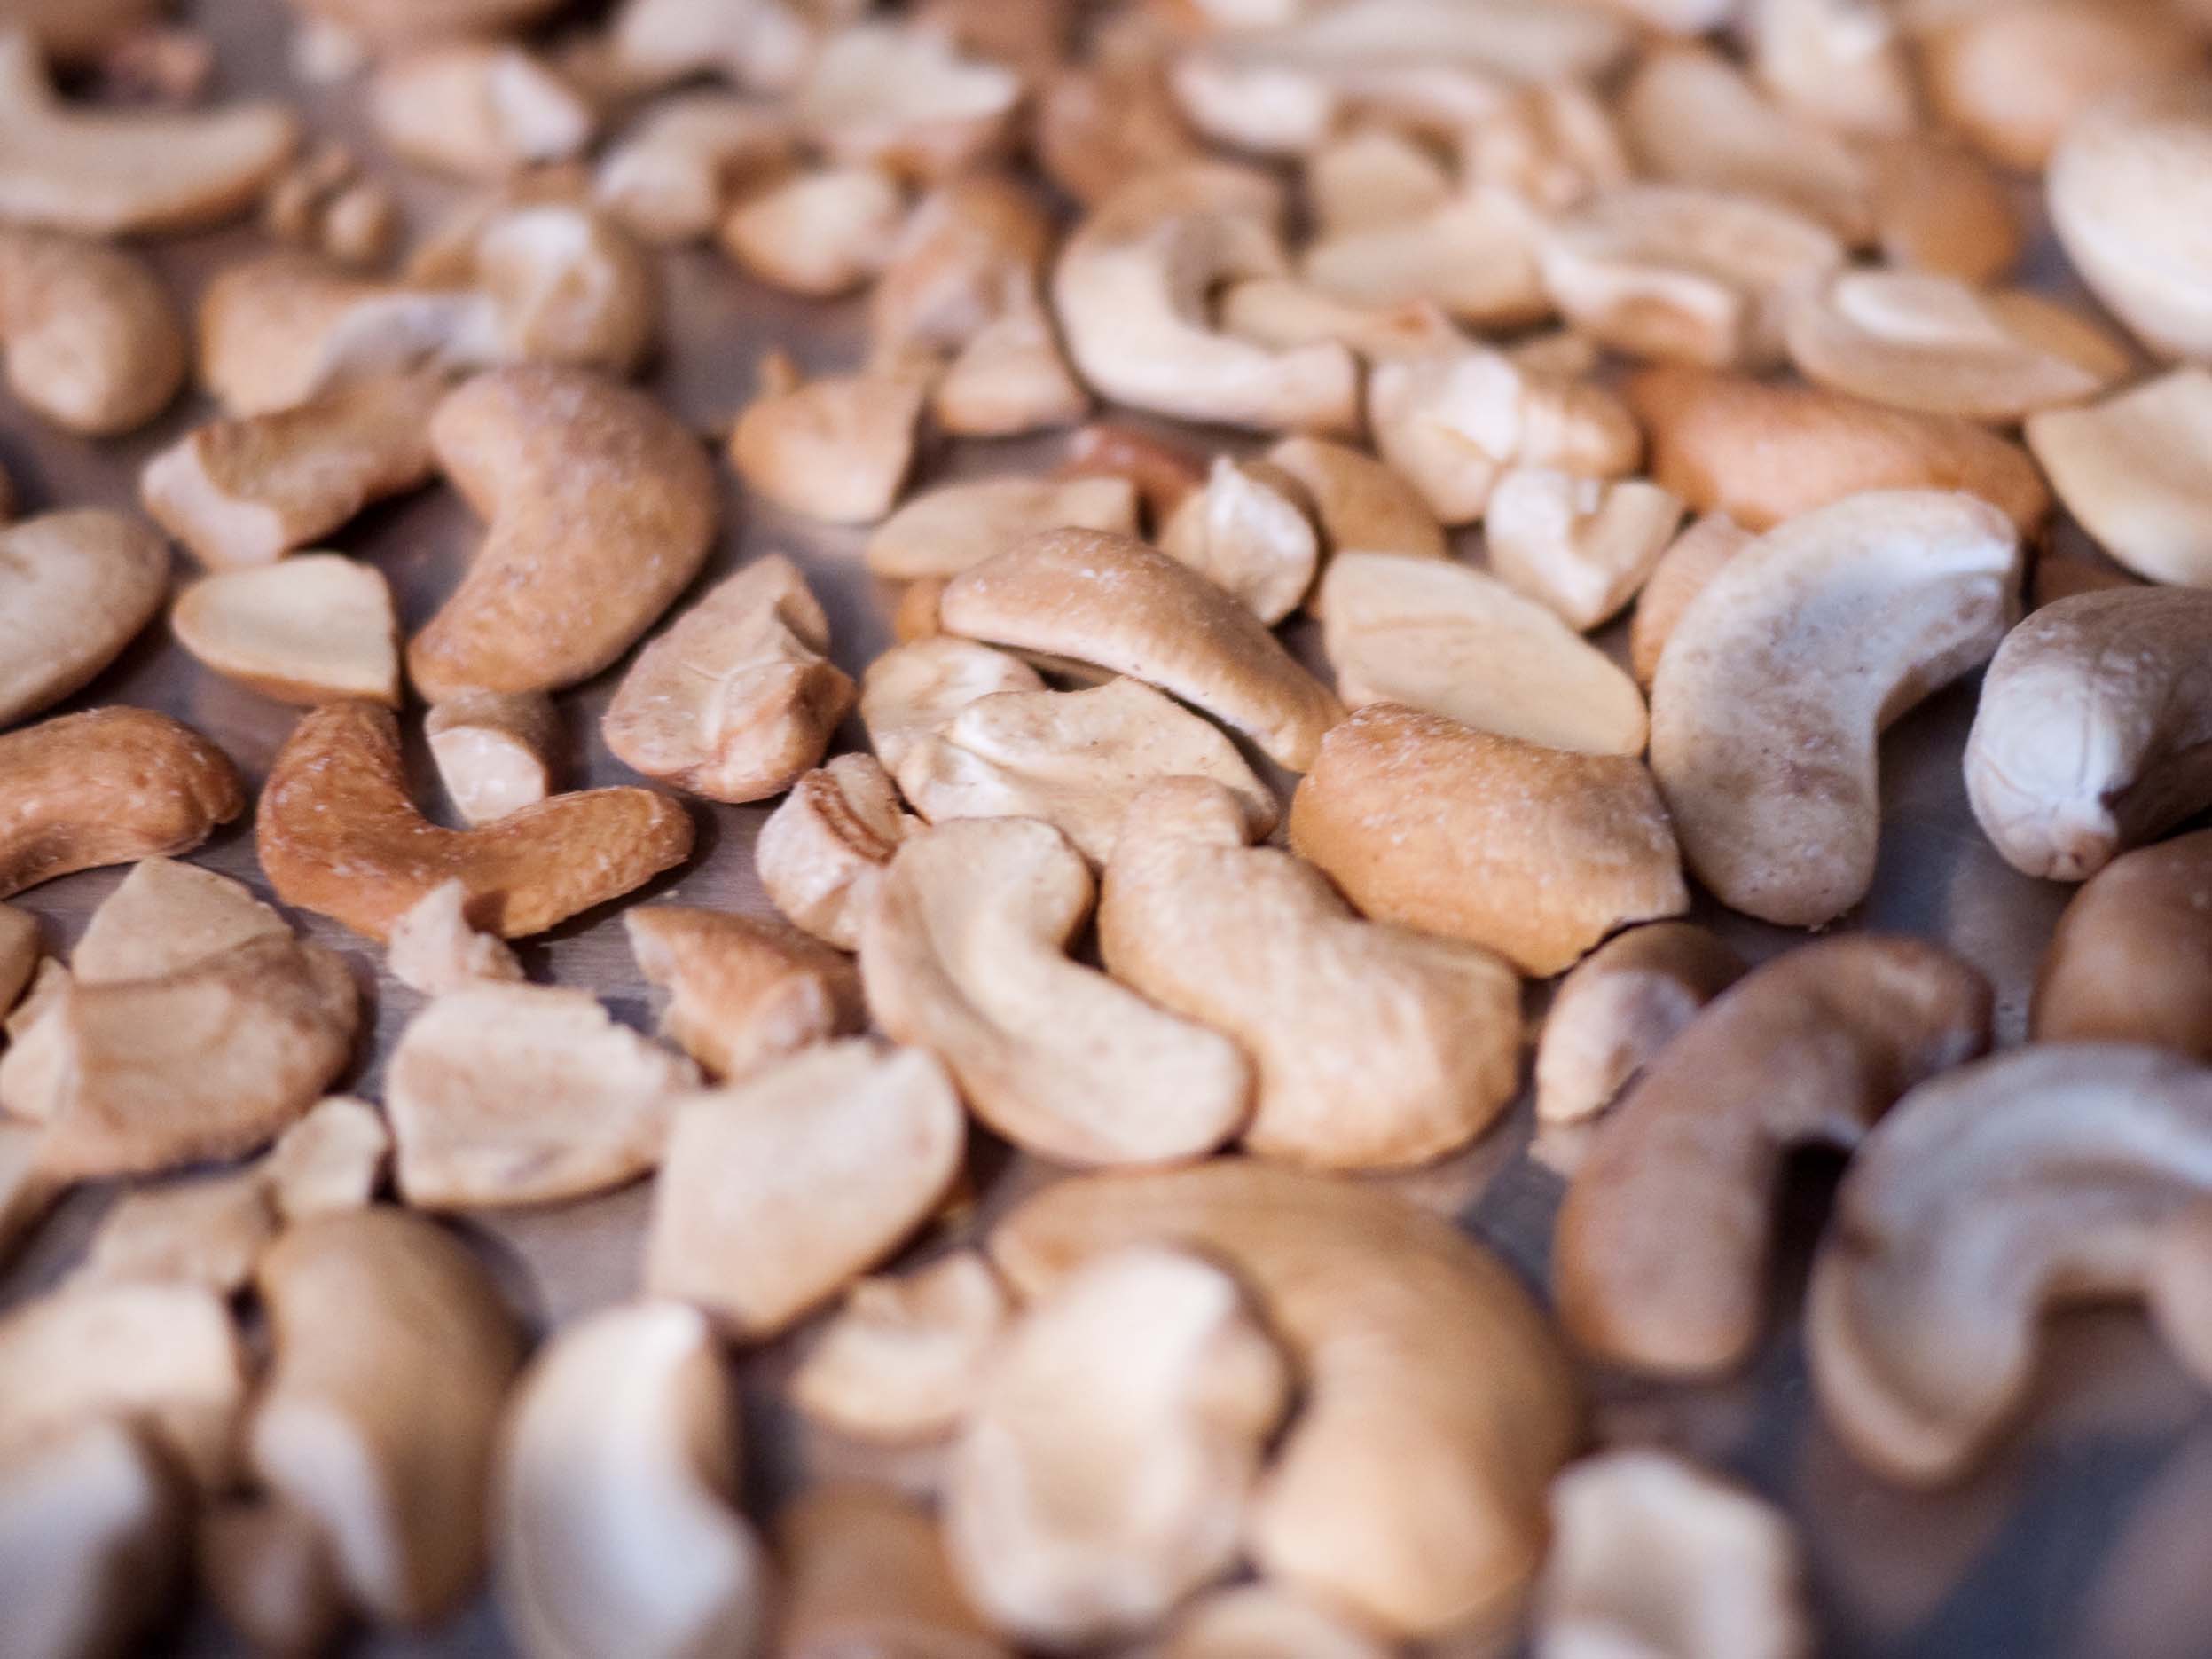
1 1/2 cup lightly toasted cashew nuts
Heat the oven to 350°F. Coat a 9-inch tart or spring form pan with cooking spray. Prepare the crust by combining the graham cracker crumbs, butter, sugar, vanilla, and salt in a food processor and pulsing until the butter is worked into the graham cracker crumbs and the mixture resembles wet sand. Transfer to the prepared pan.
Use the bottom of a glass to press the crumb mixture into the pan and spread and even layer across the bottom and up the about an inch. Set aside.
Spread the cashews in a even layer on a baking pan. Bake for 10-12 minutes at 350°F until fragrant and lightly toasted. Remove from oven and let cool.
In a medium saucepan over medium-high heat, combine the honey, butter, sugar, and salt. Bring to a boil, stirring constantly until the sugar is dissolved. Remove the pan from heat and set aside to cool for five minutes.
In a medium bowl, whisk together the cream, eggs, and orange zest. Whisk in the warm honey mixture. Stir in the cashews and then transfer the mixture to the tart pan.
Bake for 35-40 minutes, or until the filling has set and turned golden brown. Let cool before serving.
The Verdict:
Incredible – very rich and sweet. It went great with the champagne. My only issue is that it may have been a little too sweet. Maybe next time I back off the honey a touch and add just a tiny amount of rosemary.
If I ever need to come up with a death row last meal request, this is it.
In my pre-gluten free days I used to make this at least twice a month. Since the Celiacs, I’ve tried a version over GF waffles that I call Country Eggs Benedict. Tasty, but not the real deal, so I kind of gave up making it altogether.
Ingredients
1 pound pork breakfast sausage (Jimmy Dean’s in the case)
2 cups whole milk
1/4 cup gluten-free flour (I like Pamela’s Amazing Bread Mix or Gluten-Free Pantry Country French Bread Mix)
3 tablespoon pancetta, diced
1 tablespoon bacon grease
1 teaspoon dried sage
1 teaspoon crushed red pepper flakes
1 teaspoon kosher salt
1/2 teaspoon black pepper
Directions
Melt the bacon grease in a large skillet. Add the sausage and pancetta and cook until the sausage is uniformly brown and the pancetta is a little crispy. Do not drain. Add the sage, red pepper, salt, and black pepper and stir to combine. Add the flour and cook over low heat for 5 minutes until it forms a roux and begins to brown.
Remove pan from heat and stir in milk a little at a time. Scape the bottom to get up any brown bits. Return to medium-high heat and stir occasionally until gravy comes to a simmer and starts to thicken, about 10 minutes. Remove from heat and ladle over warm biscuits.
The Verdict: Man, they were good! The pancetta added some crispy bits and porky goodness, while the bacon fat added a smoky richness. The red pepper and a shot of hot sauce warmed up the gravy, and the soft biscuits did a fine job of soaking up all that wonderfulness. Perfect. They could strap me in ol’ sparky tomorrow and I’d be a happy man.
General Mills is jumping on the gluten-free bandwagon by adding gluten-free Bisquick to its product lineup. I’m very excited about this for two big reasons:
While it’s not a new and innovative product (there are lots of GF baking mixes available), it is a General Mills product which means it’s going to be available everywhere. Even my Mom in small-town Iowa can buy it at her local Hy-Vee.
It’s Bisquick, and while it’s not a one-for-one replacement for the original, it does mean that there’s about a gajillion recipes out there that can now readily be made gluten free.
The first thing I wanted to try making with the GF Bisquick is my favorite recipe that I used to make with the original Bisquick – biscuits. I even broke out Grandma R’s dough blender to do the job.
2 cups Bisquick Gluten-Free mix
1/3 cup butter
2/3 cup milk
3 eggs
Heat oven to 400°F. In a medium bowl, combine Bisquick mix and butter. Cut in the butter, using pastry blender or fork, until mixture looks like coarse crumbs. Stir in the milk and eggs until a soft dough forms.
Drop dough by spoonfuls onto ungreased cookie sheet. Bake 13 to 15 minutes or until light golden brown.
I served these right out of the oven, topped with butter and honey
The Verdict: Fair warning – I am not a baker, that’s my dear wife’s specialty. Even so, the biscuits turned out crispy on the outside and fairly tender on the inside. The dough was heavy and the biscuits ended up being a little dense. They weren’t the flaky bits of perfection that my grandmother used to make, but they were as good as any box mix biscuit I’ve ever made. Taste wise, I couldn’t tell they were gluten free, and that’s a huge plus.


